While working on an image for the post-processing task, the image file format is highly important. You must save the image in the required file format. Otherwise, the image file won’t be suitable for the platform that you are going to use. JPEG is the most popular file format nowadays.
We are going to show you how to save Photoshop as JPEG. After that, you will be able to save any file format to JPEG such as PNG to JPG and Photoshop PSD to JPG.
Before starting the JPG converting tutorial, let me inform you of some essential things about the jpg format. By following the tutorial, you can also change the file format for Deep Etched Images.
What is JPEG File Format?
JPEG is the short form of “Joint Photographic Experts Group”. This is the most commonly used image format. It’s used for photos and web graphics.
It’s known for its ability to compress images to smaller file sizes without loss in visual quality. JPEG doesn’t support transparent backgrounds like the PNG does. JPEG is a versatile and widely supported format perfect for photography. It is also known as JPG.
Step 1: Open Your File
First, open the PNG file you want to convert. Go to File in the top menu and click Open. Then, select your PNG image. Here is the PNG image that I am going to convert.
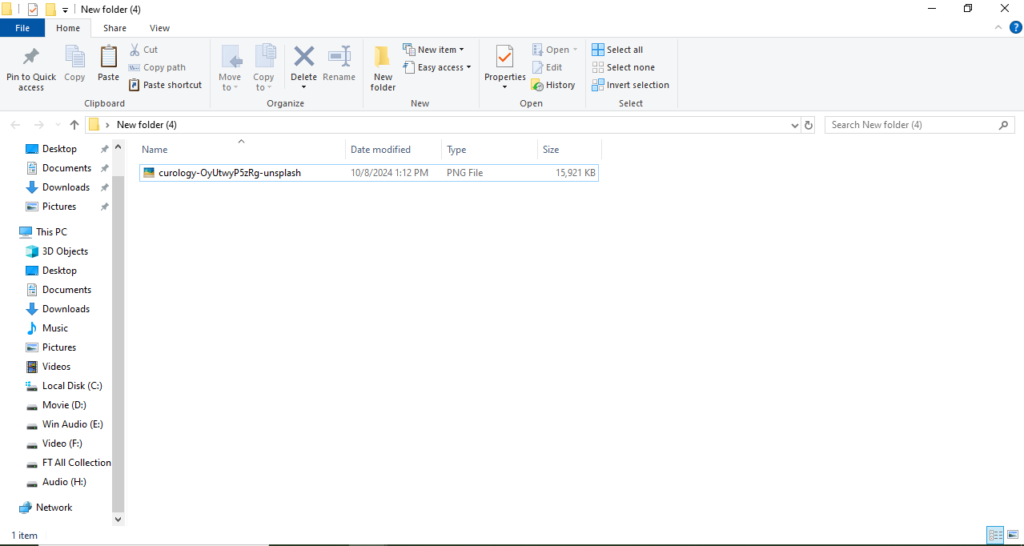
You need to open the image in Photoshop.
Step 2: Click on “File” and choose “Save As”
Once your file is open, go back to the File menu. This time, you have to choose Save As from the list.

Step 3: Select JPEG Format
A window will be visible with different types of file format. You need to look for the Format menu and choose JPEG from the list. You should Make sure you’ve selected the right location where you want to save the file.

Step 4: Adjust the Quality Settings
After choosing JPEG, you’ll be asked to adjust the quality. Photoshop gives you the option to control the balance between file size and image quality. Move the slider to your preferred quality, then hit OK.

Step 5: Check the File Format
That’s it. After pressing the enter key, your PNG will be saved as a JPEG. You can check the saved file in your chosen location.
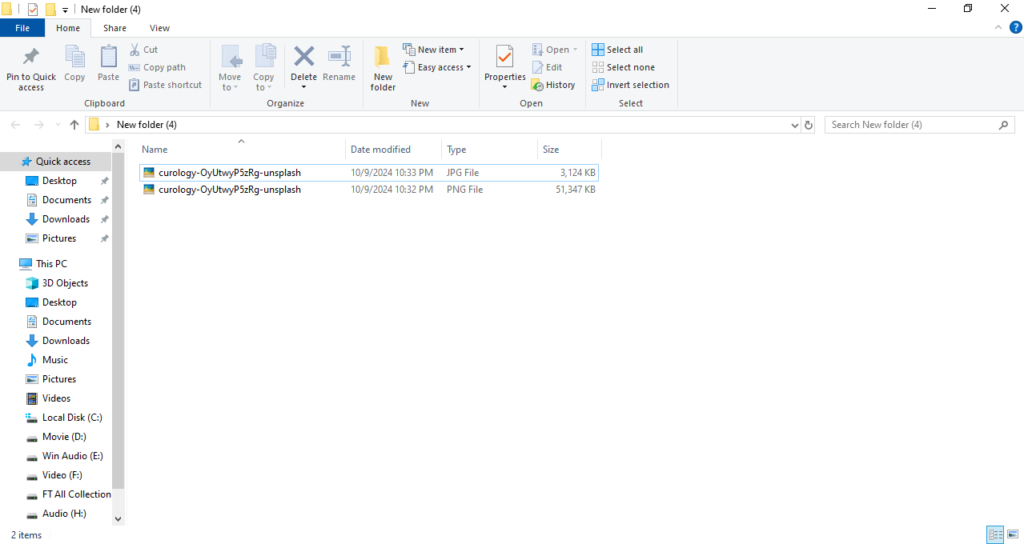
You can use this method to save Photoshop as JPEG for any file format. It is also suitable for the Photoshop PSD format. You can convert from PSD to Jpeg using the same method.
How To Save Photoshop As JPEG? Using the “Export As” Option
Just like before, open the file you want to convert by going to File and choosing Open. Then, you will get your image in Photoshop. For this tutorial, I am going to use this PSD format.
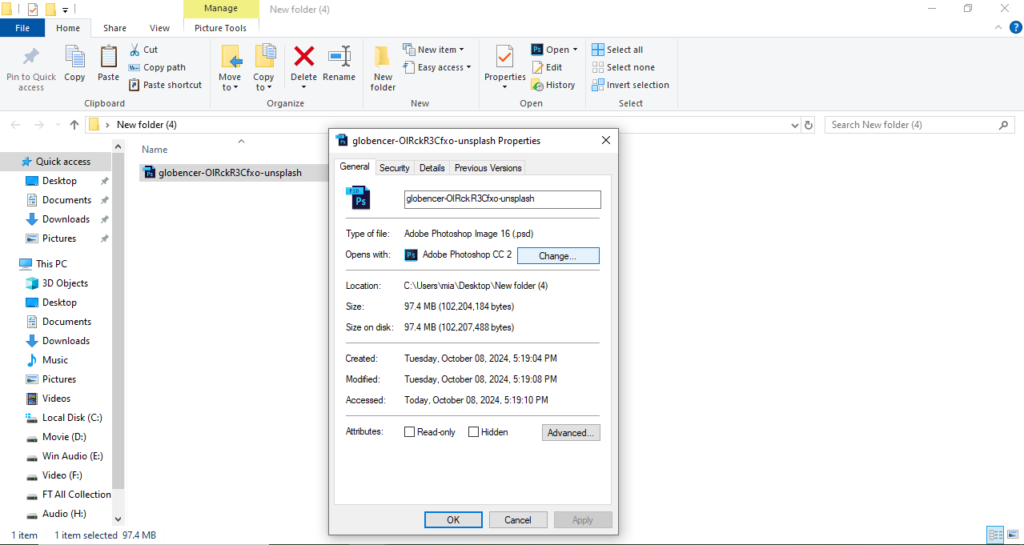
Now, you have to go to File, scroll down, and click on Export. Then, you have to click on the Export As.

Step 2: Choose JPEG Format
A new window will appear. On the right-hand side, you’ll see a list of options to save Photoshop as JPEG. Under the Image Format section, choose JPEG from the drop-down list.

You can adjust the image size, resolution, and quality. You’ll also see a preview of how your JPEG will look. Once you’re okay with the settings, simply click on the Export.
Step 3: Check File Format
Now, go to the location for your new JPEG. You will find the image format has changed to JPEG.
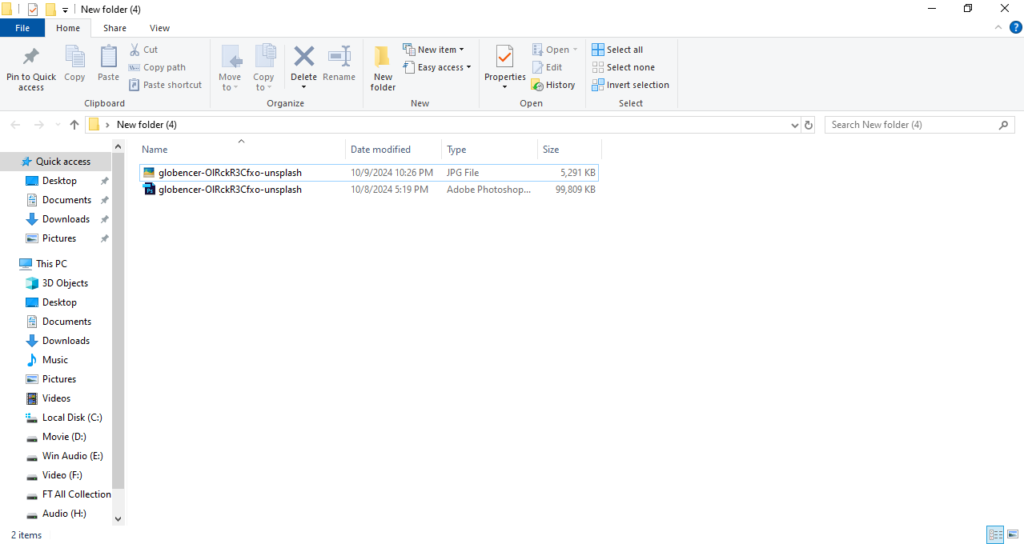
That’s the process of how to save Photoshop as JPEG.
3 Tips TO Save Photoshop As JPEG For Better Quality
- Adjust the Quality Slider for Balance. You can adjust it while saving the file.
- Check the Color Profile and set it to sRGB. You can choose between sRGB and CMYK.
- For transparent images, jpg will make the background white. Use TIFF to keep it transparent.
Final Words
From the save as and export as options, we can save Photoshop as JPEG. Those options are suitable for converting from any file format to the required file format.
If you are going to upload your image on a website, Jpeg is a more suitable image file format. If you need to enhance your image apart from the format converting, you can choose Deep Etched Images or your photo editing requirements in Australia.
You can start now with a free trial.
FAQ’s
Can I convert a PNG to JPEG without losing quality in Photoshop?
Yes you can convert from PNG to Jpeg without losing quality. But keep in mind that JPEG is a compressed format. So, there will be some minor loss in quality compared to PNG.
What is the difference between using “Save As” and “Export As” in Photoshop?
The “Save As” option is a quick and straightforward way to save a file in different formats like JPEG. “Export As” has more advanced controls on the output before saving.
Will converting a PNG to JPEG reduce the file size?
Yes, JPEG files are generally smaller than PNG files due to compression. This makes JPEG a better choice for web use or when you need to save storage space.
Can I convert a PNG with a transparent background to JPEG in Photoshop?
No, JPEG does not support transparency. If your PNG has a transparent background, it will be filled with a solid white color when you convert it to JPEG.
What is the best quality setting for saving a JPEG in Photoshop?
A higher quality setting (8-12 on the scale) will create a larger file but better image quality. A lower setting reduces the file size but affects the sharpness of the image.

